(→Step 6: adding navmap) |
(→Step 4: clean up) |
||
| Line 71: | Line 71: | ||
==Step 4== |
==Step 4== |
||
| − | [[Image:Paint06.png|left|thumb]]Now you just start pasting all your materials into your work area. This is when you bring in all your templates and comparison micros. You might even want yo bring smaller reference pics in as well, but it's best to have your refs running in a seperat program so you can varify details while in zoom. |
+ | [[Image:Paint06.png|left|thumb]][[Image:Paint07.png|right|thumb|Template with different background.]][[Image:Paint08.png|right|thumb|Background fixed.]]Now you just start pasting all your materials into your work area. This is when you bring in all your templates and comparison micros. You might even want yo bring smaller reference pics in as well, but it's best to have your refs running in a seperat program so you can varify details while in zoom. |
| − | |||
| ⚫ | |||
| − | |||
| − | |||
| − | |||
| − | |||
| − | |||
| − | |||
| − | |||
| − | |||
| − | |||
| − | |||
| − | |||
| − | |||
| − | |||
| − | |||
| − | |||
| − | |||
| − | |||
| − | |||
| − | |||
| − | |||
| − | |||
| − | |||
| − | |||
| − | |||
| − | |||
| − | |||
| − | |||
| − | |||
| − | |||
| − | |||
| − | |||
| − | |||
| − | |||
| − | |||
| − | |||
| − | |||
| − | |||
| − | |||
| − | |||
| − | |||
| ⚫ | |||
==Step 5== |
==Step 5== |
||
Revision as of 15:09, 19 July 2007
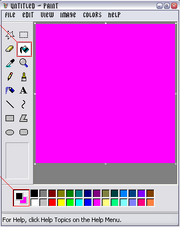
This is a basic run through of basic skills in MS paint. Exact details of each micro you make is up to you the artist. This does not go into doing things from scratch, such as cartoon characters. That involves using basic shapes and matching detail. You can learn that from a basic drawing book you can get at any library.
Step 1
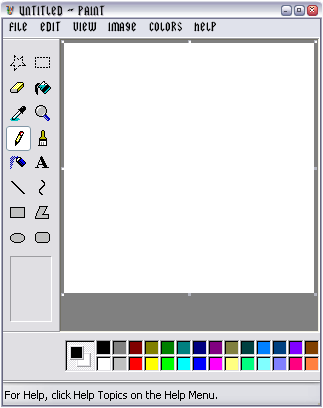
First of course, you need to open up MS paint.
Step 2
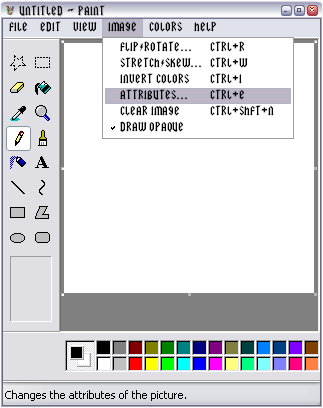
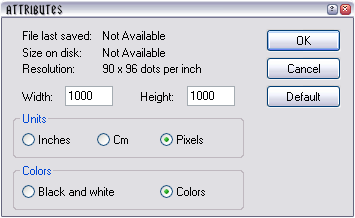
Open up your Attributes
set the pixel dimensions of your work area
Now you want to set your work area. This way you can have a selection of templates and comparison micros all in one area.
Step 3
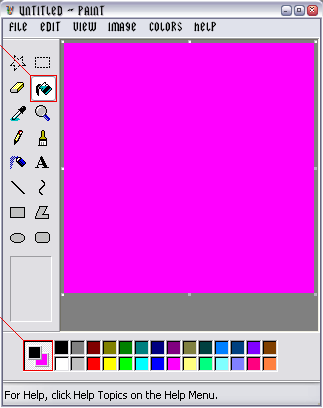
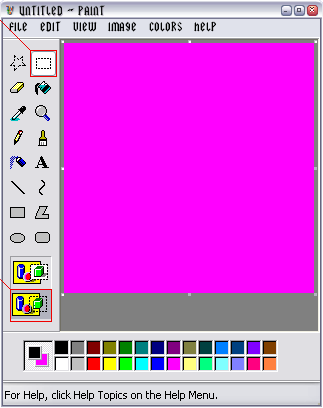
set your background color using the right button on your mouse and then fill the background using bucket and the right button.

select the square select button and highlight the transparent background
Now you want to set you background color and set your background to transparent. MS paint can't create files with transparencies, but at least it will let you use them while working on images.
Step 4


Template with different background.

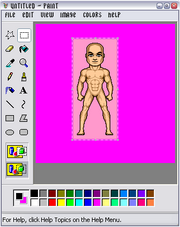
Background fixed.
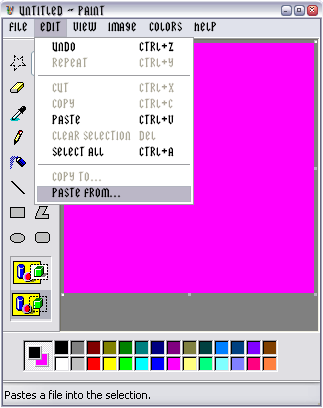
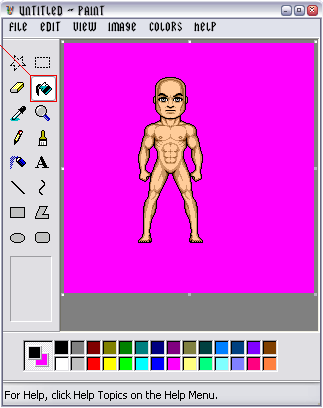
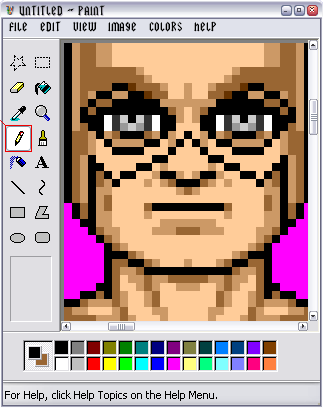
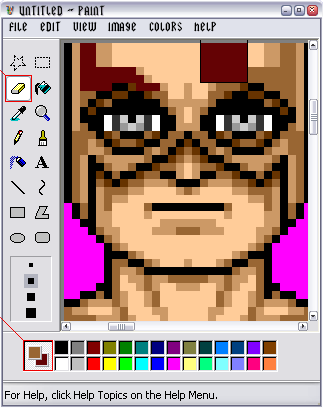
Now you just start pasting all your materials into your work area. This is when you bring in all your templates and comparison micros. You might even want yo bring smaller reference pics in as well, but it's best to have your refs running in a seperat program so you can varify details while in zoom.
Sometimes a template will have a different background color than the one you are using. Use the bucket and the right button to make the background color the same as yours.
Step 5


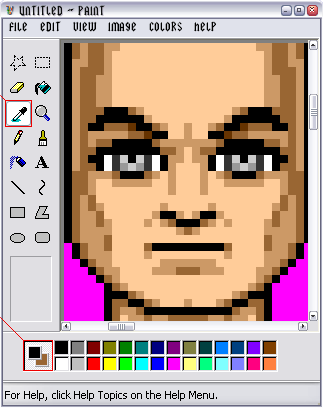
Select Zoom and choose 8x zoom
Zoom is where you will do most of your work with micro heroes. 8x zoom will usually be your level of choice. There is, however, a little known trick in paint. By clicking on the white line below the 8x choice, you can zoom in 10x. It's not much, but it can help sometimes.
Step 6
Now we'll do a basic hero mask.

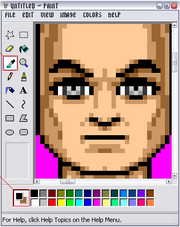
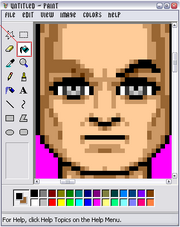
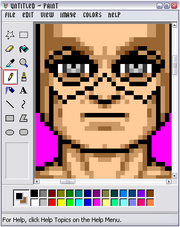
Basically you use the eye dropper to get a darker shade and use bucket to remove the eye brows. Thin you draw the mask lines in. After that you ad the shading. Most times you will use three levels, but with intersections where clothing covers skin, you'll want to use four levels of shade to show the detail. If you have clothes crossing clothes and skin you might want to use a fifth layer at the intersecting corner do designate the difference.
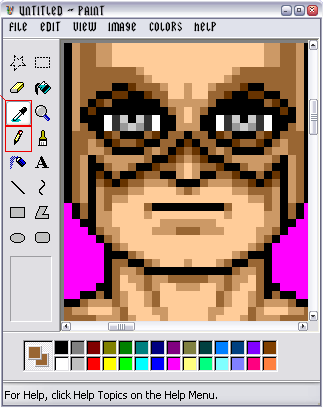
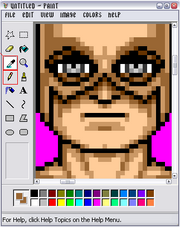
Once your shading is done, you can get to the pallet change. The best thing to do is use the eraser tool with the right button. This will let you set a foreground color and a background color. Once these are set you can use the eraser to replace one color at a time using the right mouse button.

These are all the skills you need since advanced skills are just variations of these. Most of the other basic tools of MS Paint are self explanatory so we really don't need to go over them. Most of the best artists still use MS Paint.
|
Community Micro History|Lilguys|The French Micro Hero Legacy|Micro-Hero Links|Pixel Heroes Tutorials How to Make Micro-Heroes|Conversion and transparency|Image formats Featured Creators Robert Bradley|Rich Bellacera|Donar|Ben Cooper Misc Micro Hero Mottos To Live By|Forum |